Creating an animated clip of a character running on water can be a real challenge. Many animators struggle with the physics and fluid dynamics to make it look realistic. But don’t worry, I’ve got some solid tips and techniques to help you out.
You might be thinking, How do I even start? Well, let’s dive right in. This guide is based on expert insights and practical advice from experienced animators.
We’ll cover step-by-step instructions and best practices. By the end, you’ll be able to create a visually stunning sonic running on water gif or any other character you have in mind.
Trust me, it’s not as hard as it seems. Just follow along, and you’ll be amazed at what you can achieve.
Understanding the Basics of Animation
Ever wondered how animators bring characters to life? It’s all about timing, spacing, and squash-and-stretch. These principles make the difference between a static image and a dynamic, believable character.
Timing is about how fast or slow an action happens. Spacing deals with the distance between each frame. Squash-and-stretch gives weight and flexibility to movements.
Got it?
Now, let’s talk tools. Adobe Animate, Blender, and Toon Boom Harmony are some of the big names. Each has its strengths.
Adobe Animate is great for 2D, Blender for 3D, and Toon Boom Harmony is a powerhouse for both.
Before you dive in, planning is key. Storyboarding helps you visualize the sequence. It’s like a roadmap for your animation.
Without it, you might end up lost in a sea of frames and keyframes.
Sound familiar?
Pro tip: Spend extra time on pre-production. It saves you from headaches later.

So, are you ready to start animating?
Creating the Character
Character Design: Tips for designing a character that is both visually appealing and suitable for the running-on-water effect. Think light, agile, and maybe even a bit mystical. You want a character that looks like they can defy gravity.
Modeling and Rigging: Steps to create a 3D or 2D model and set up the rig for smooth movement. Start with a basic shape, then add details. For rigging, focus on the legs and feet.
They need to be flexible and responsive to make the water-running look natural.
Texture and Shading: Techniques to add texture and shading to make the character more lifelike. Use subtle gradients and highlights to give the impression of wetness and reflection. This adds a layer of realism that makes the effect pop.
Pro Tip: Keep the design simple but striking. Too many details can distract from the cool running-on-water effect.
Animating the Character’s Movement
Animating a character running on water can be a fun and challenging task. Let’s break it down into manageable steps.
First, you need to set up your keyframes. Keyframes are like the backbone of your animation. They mark the start and end points of each movement.
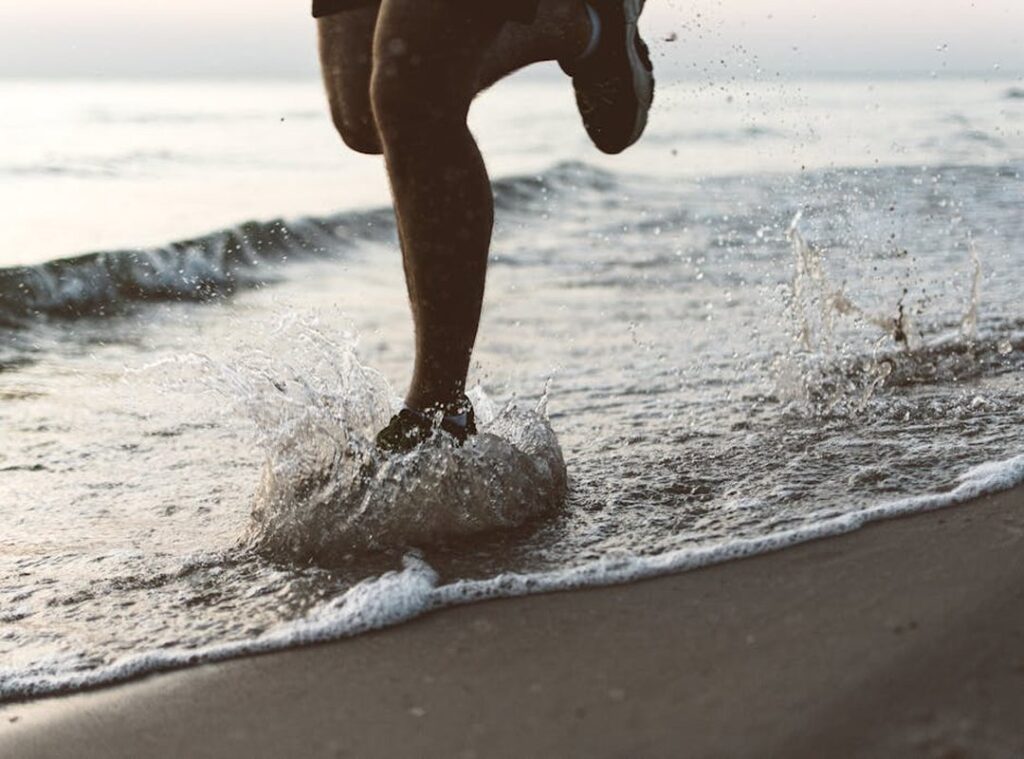
For a running motion, focus on the legs and arms. Make sure the character’s feet touch the water at the right moments. This creates a natural, fluid movement.
Now, let’s talk about timing and spacing. Timing is all about how fast or slow the movements happen. Spacing is about the distance between keyframes.
To make the running-on-water effect look realistic, you might want to slow down the upward motion of the feet and speed up the downward motion. This mimics the way a character would push off and land on a solid surface, even if it’s water.
Adding secondary actions can really bring your animation to life. Think about small, subtle movements like hair and clothing. These little details can make a big difference.
For example, the character’s hair could flow slightly with each step, and their clothing could ripple as they move. These tiny movements add to the overall realism.
Here’s a quick tip: Use a sonic running on water gif to get a feel for the motion. It can help you visualize the smooth, flowing action you’re aiming for.
By focusing on these elements, you can create a convincing and engaging animation. Remember, practice makes perfect. Keep tweaking and refining until you get the look you want.
Simulating Water Dynamics
Water simulation is a big deal in the world of 3D graphics. You’ve got two main techniques: particle systems and fluid simulation tools.
Particle systems are simpler. They use a bunch of tiny dots to mimic water. It’s like sprinkling confetti to create a wave.
Easy, but not super realistic.
Fluid simulation tools, on the other hand, are more complex. They use physics to make water look and move like the real thing. It’s like having a mini ocean in your computer.
More work, but way more convincing.
Now, let’s talk about how to make the water react to characters. When a character moves through the water, you want ripples and splashes. This is where those fluid simulation tools shine.
They can calculate how the water should move based on the character’s actions.
Particle systems can do this too, but it might look a bit off. The water might not splash or ripple as naturally.
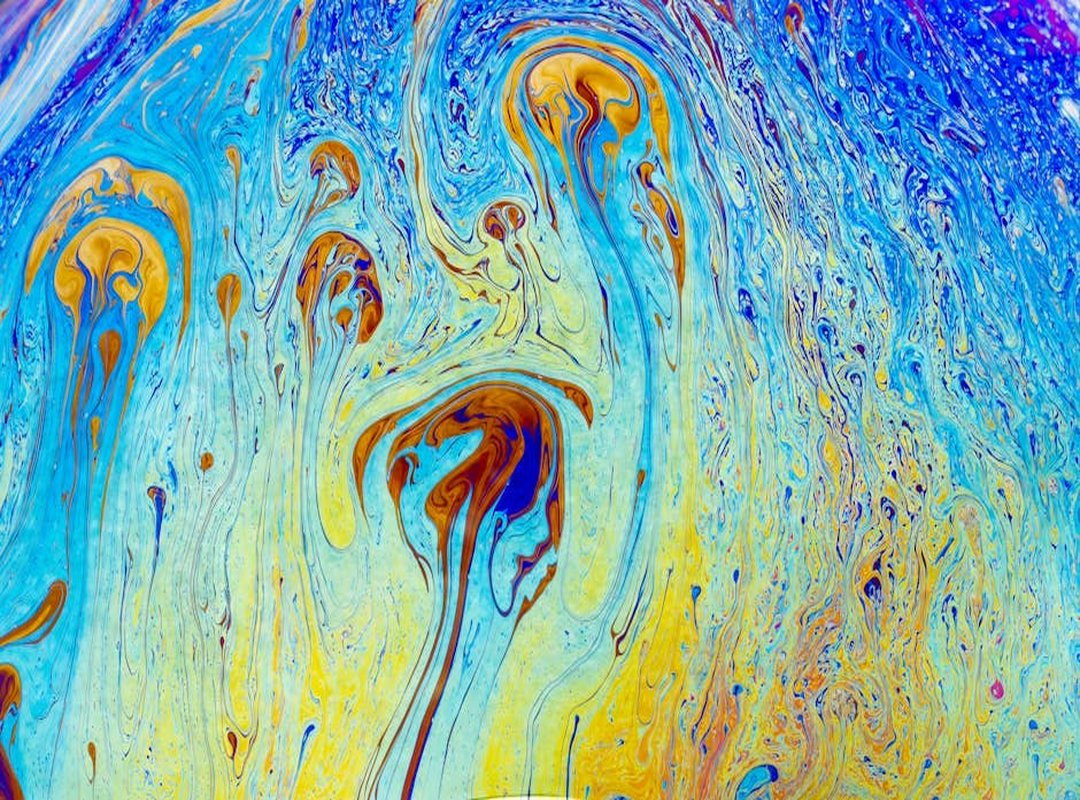
Next up, reflections and refractions. These are key for making water look real. Reflections show what’s above the water, and refractions distort what’s below.
Both add that extra layer of realism.
You can use shaders to add these effects. Shaders are like special paint brushes for your 3D scenes. They help you add those little details that make the difference.

When it comes to crafting evergreen content that drives long term traffic, adding these visual elements can make your projects stand out.
In short, if you want quick and easy, go with particle systems. If you want realism and detail, fluid simulation tools are the way to go.
Adding Visual Effects and Polishing the Scene
Visual effects can make or break a scene. Let’s dive into some practical tips to get it right.
- Incorporating Additional Effects
- Add mist, droplets, and light rays to enhance the atmosphere. These small details can bring your scene to life.
- For example, a subtle mist can create a mysterious or dreamy vibe, while light rays can add a touch of drama.
Lighting Tips
Lighting is key. It sets the mood and guides the viewer’s eye. Here’s how to do it:
- Set Up Your Key Light
- Place your main light source to highlight the most important elements in the scene. This could be a character or an object.
-
Adjust the intensity and angle to get the desired effect. (Pro tip: Soft, diffused light often works best for natural, flattering looks.)
-
Add Fill Lights
- Use fill lights to reduce harsh shadows and balance the exposure. This makes the scene more visually appealing.
-
Experiment with different positions and intensities to find what works best for your setup.
-
Use Backlights
- A backlight can separate your subject from the background, adding depth and dimension.
- Position it behind the subject to create a rim of light around the edges.
Final Touches
Once you’ve got the lighting right, it’s time for the final touches.
- Adjust Colors
- Tweak the color balance to match the mood. Cooler tones can create a calm, serene feel, while warmer tones can make the scene more inviting.
-
Use color correction tools to fine-tune the hues and saturation.
-
Add Filters
- Apply filters to give your scene a specific look. Maybe you want a vintage feel or a more modern, vibrant appearance.
-
Be careful not to overdo it. The goal is to enhance, not overwhelm.
-
Fine-Tune the Composition
- Review the overall composition. Make sure the elements are balanced and the focus is where you want it.
- Crop or reframe if needed to improve the visual flow.
Adding these final touches can transform a good scene into a great one.

Remember, practice makes perfect. Keep experimenting and refining your techniques.
Exporting and Sharing Your Animation
Alright, you’ve put in the hard work. Now it’s time to show the world what you’ve created. Let’s talk about rendering and sharing your animation.
First up, rendering. This is where you make sure your animation looks top-notch. Use high resolution settings.
It might take longer, but trust me, it’s worth it. Also, check your frame rate. 24 or 30 frames per second usually works well for smooth playback.
Now, onto sharing. You’ve got a few options here. Uploading to social media can get your work seen by a lot of people quickly.
Platforms like Instagram and TikTok are great for short, eye-catching clips.
If you want to reach a broader audience, YouTube is your go-to. It’s perfect for longer animations and tutorials. Plus, you can build a channel and grow a following over time.
For more specialized feedback, try animation platforms. Websites like Newgrounds or Vimeo have communities that appreciate and critique animation. It’s a great way to get noticed by other animators and enthusiasts.
Pro tip: Always keep a copy of your original files. You never know when you might need to make tweaks or share them with someone else.
Remember, the key is to get your work out there. Don’t be afraid to experiment with different platforms and see what works best for you.
Bringing Your Animated Clip to Life
Recall the key steps and techniques for creating an animated clip of a character running on water. Focus on the fluidity of motion, the interaction with the water, and the overall timing. sonic running on water gif can serve as a great inspiration for your project.
Practice, patience, and attention to detail are crucial in achieving a professional and visually stunning result. These elements will help you refine the animation, making it more lifelike and engaging.
Experiment and refine your skills. Share your creations with the community to get feedback and inspire others.